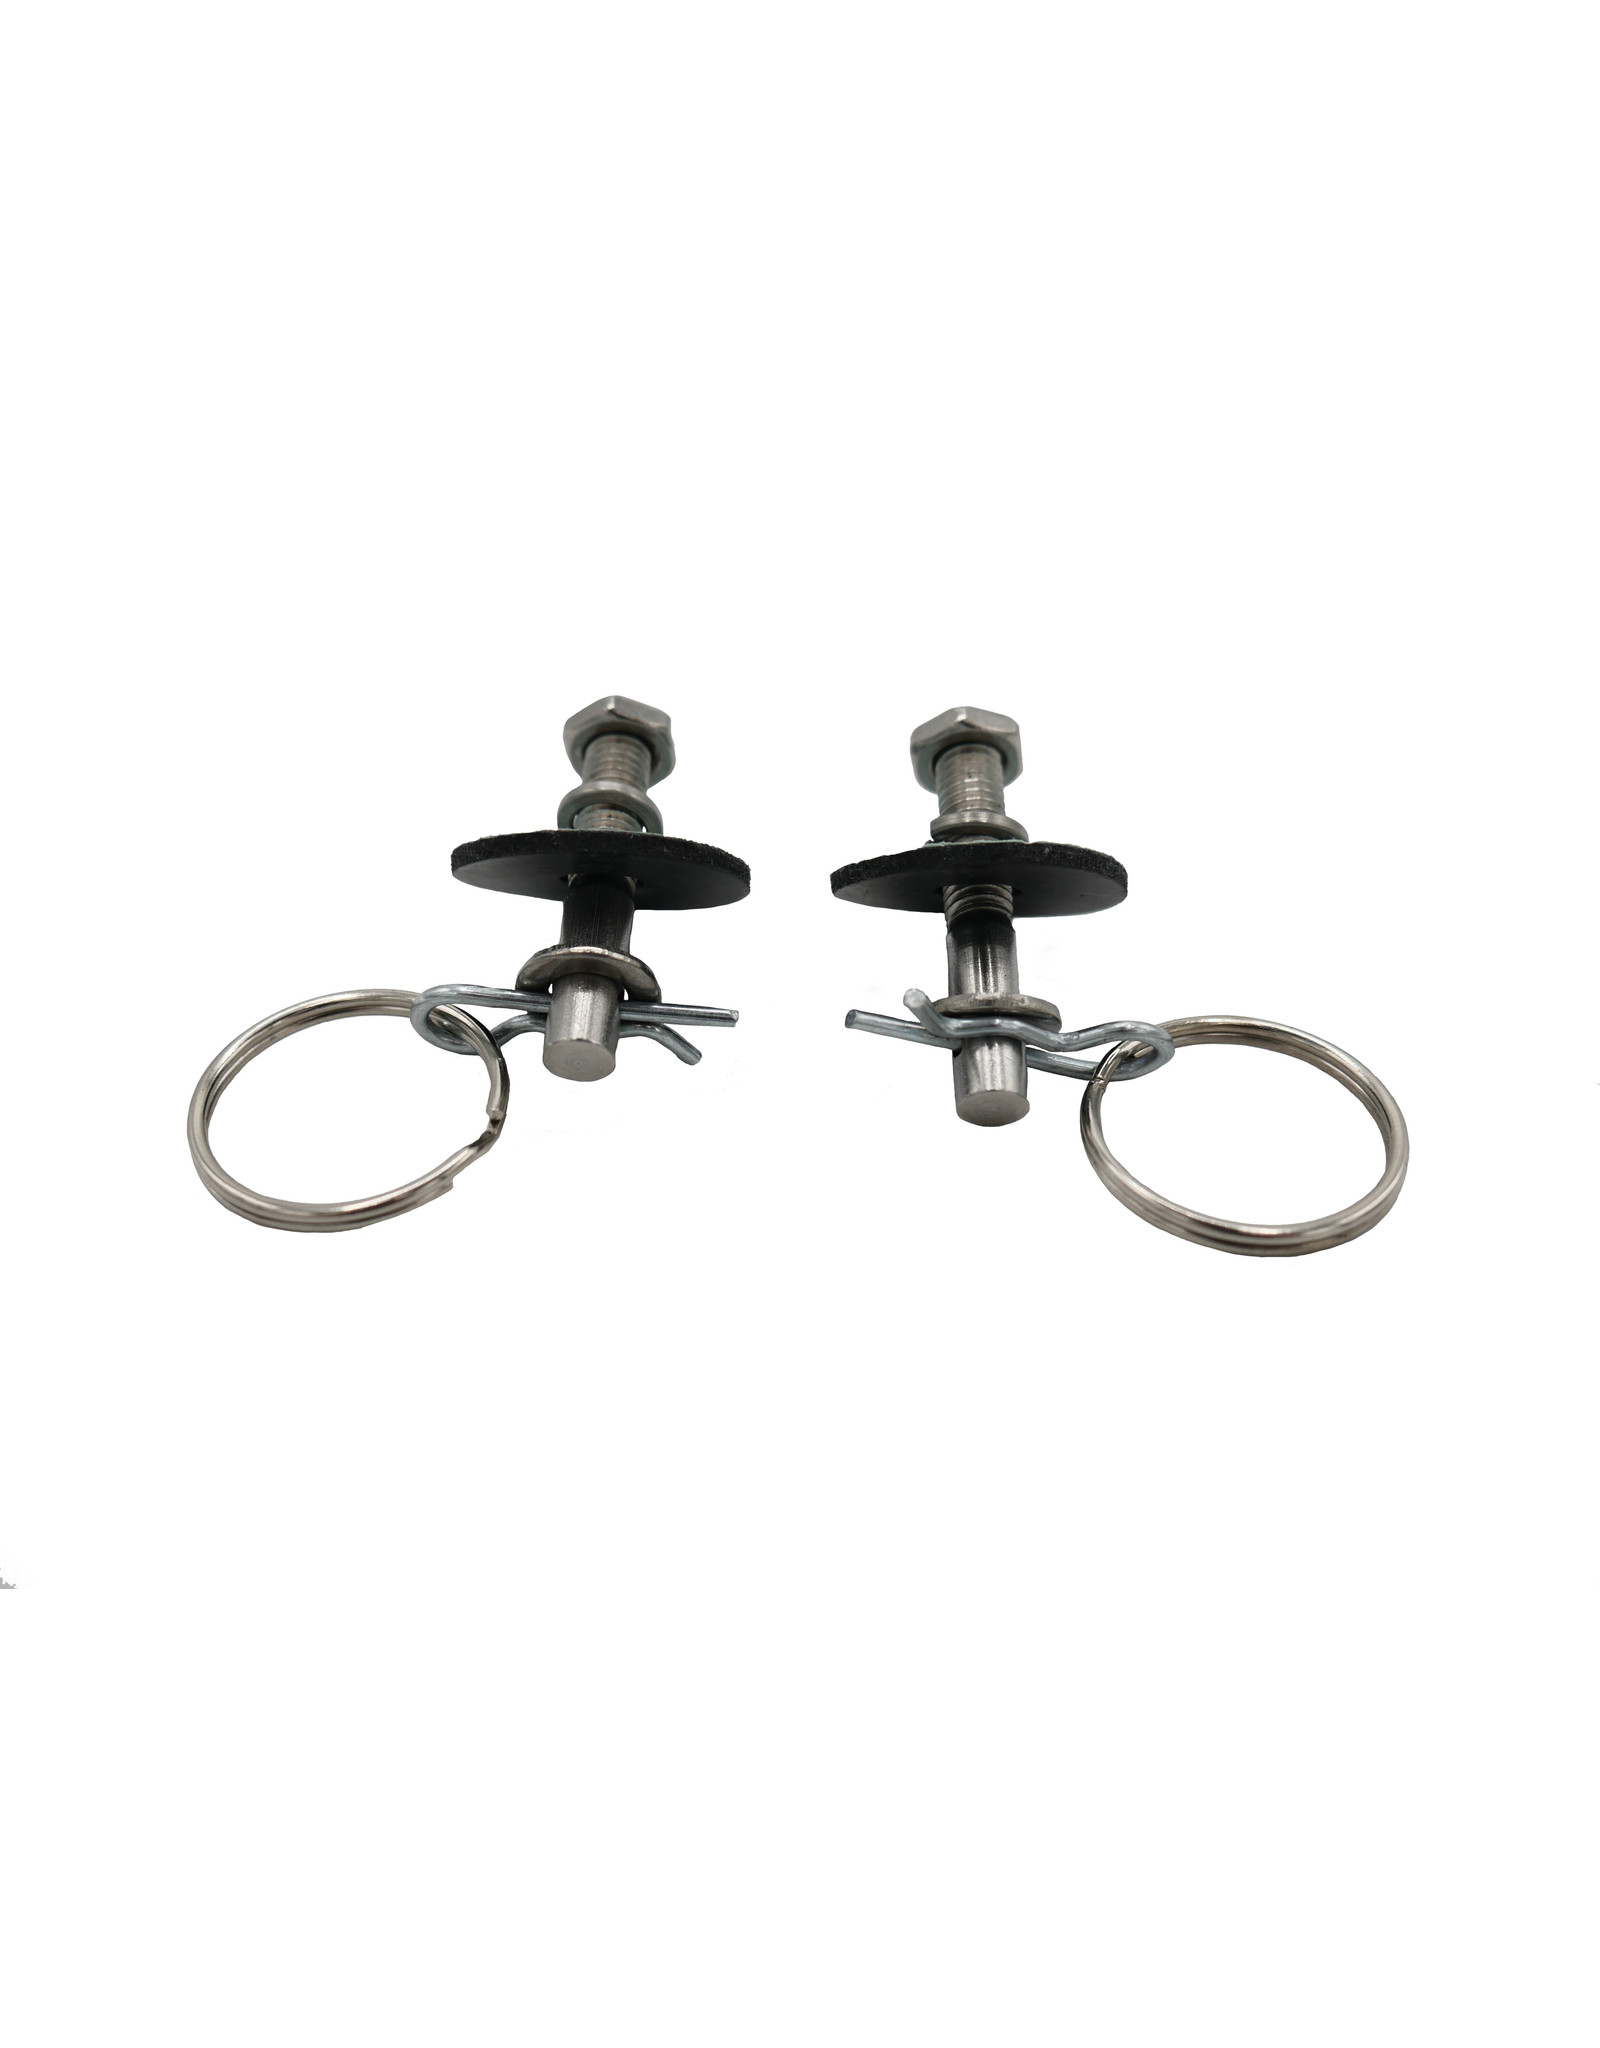
Red Rat Seat and Tank Pins - Fitting Instructions
Quick Release Seat Pins
Remove your seat and using the original bolts screw these as far as they will possibly go to clean up the threads ready for the seat pins.
Lay the seat on and take a measurement from the frame to the top of the seat plastic….then assemble the pin with the nut first and star washer, you should be able to set the rough height required using the previous measurement. Remember to factor in the height of the self-adhesive black rubber washer that is to be stuck on the seat, the metal washer goes between the rubber washer and r-clip.
Please note: after feedback I have been told you may need a round file or similar to add a bit of clearance on the seat base as the seats vary across the years.
Lock down the nut once the height is set and you should aim to align the hole so its easy to remove and refit the r-clip. You can also use some thread-lock to ensure the pin doesn’t move.
Quick Release Tank Pins
This is pretty much the same as above but getting the pin height needs to be more precise. Too high and the tank won't go down, too low and you cannot insert the R-pin.
You may have to remove the steel inserts in the rubbers and re-insert once the tank has been lowered into position. It all depends on year of bike. Also some people have cut the rubber in half leaving half on the fitted pins and remove the other half when lifting the tank. If after lowering the tank the pins do not line up anywhere close to the pins, the rear tank mount may be loose or have shifted, or your tank is swollen if a plastic model.

